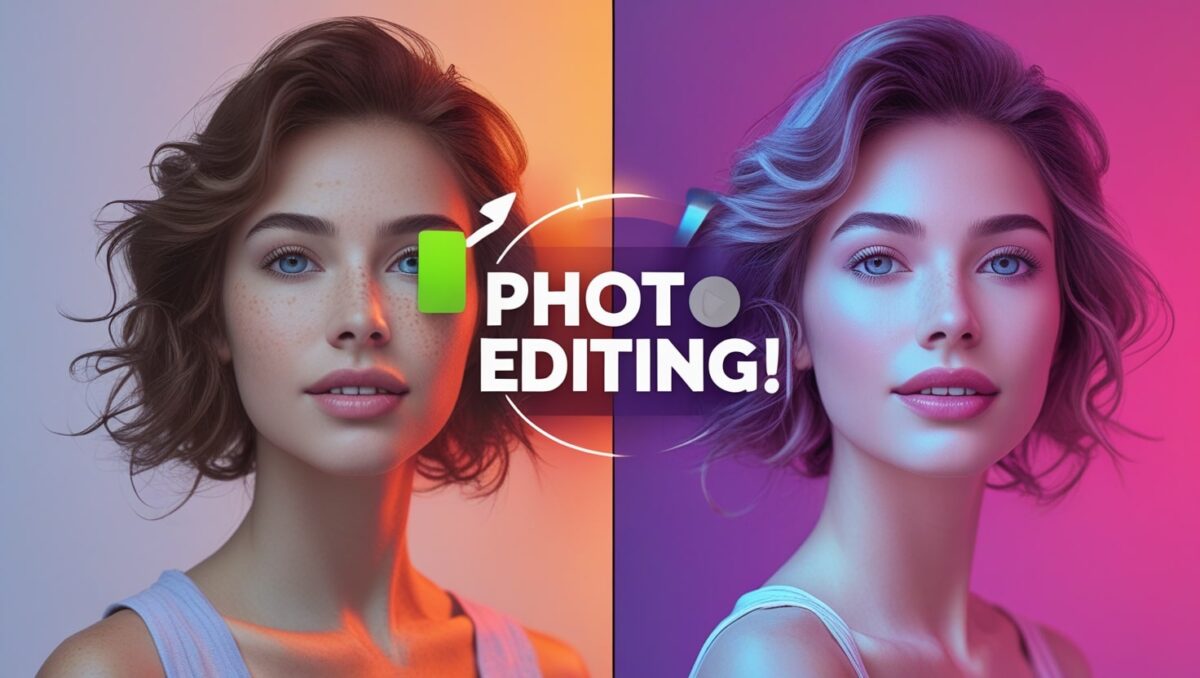
Have you ever taken a picture that was nearly perfect except for something? Colors had been dull, lighting hadn’t worked well, or there was a desire for a different background. I used to experience exactly the same difficulties until I decided to dig deep into photo editing. And let me be honest, the transformation was mind-blowing!
In this blog post, I’m going to show you how my simple photo, step by step, transforms it into something great that would go out as an officially published document. You get some easy-yet-power editing techniques, learn which tools do I rely most, and lots of tips for taking your photos from “meh” to “WOW”!
The Original Photo: The Beginning
Let’s start first with the original photo. It was taken on a bright sunny day out of doors while using my phone. Actually, the composition was fair but all colors were quite flat, and brightness came out uneven along with unwanted distraction in the background. It had potential, but it needed a professional touch.
Selecting an Appropriate Editing Tool
First of all, one must choose the appropriate photo editing tool. With so many different software available, here are some of my favorite recommendations for various skill levels:
- For Beginners: Snapseed, Lightroom Mobile, PicsArt
- For Intermediate Users: Adobe Lightroom, Photoshop Express
- For Professionals: Adobe Photoshop, Affinity Photo
Since I wanted a pro-level look, I used Adobe Lightroom and Photoshop. Lightroom is very good for color grading and lighting adjustments, and Photoshop does detailed retouching.
Step 1: Basic Corrections in Lightroom
In the first thing, I imported my photo into Lightroom and made basic corrections. It is an important step because here the foundation for a stunning edit is laid.
1. Exposure & Contrast
The photo had been slightly underexposed as it was darker than what I wanted. Here’s what I did:
- A little increase in exposure to brighten the image.
- Adjusted the contrast to make the dark and light areas pop.
2. White Balance & Vibrance Enhancement
I then fixed the white balance. My photo was a bit too cool, so I warmed it up by doing the following:
- Moving the temperature slider upwards to give the image a warm glow.
- Increasing vibrance to make colors pop without giving them an artificial look.
3. Highlights & Shadows
Adjusting highlights and shadows ensured no part of the image was either too dark or too bright:
- Highlights: Lowered them a bit to reveal details in the brighter areas.
- Shadows: Pushed them up to bring out details in the darker parts.
This immediately made my image much deeper and clearer!
Step 2: Advanced Color Grading
After the basic corrections, I wanted my image to look cinematic and professional. This is where color grading comes in!
1. HSL (Hue, Saturation, Luminance)
Using the HSL panel in Lightroom, I fine-tuned individual colors. Here’s what I did:
- Made the greens slightly yellowish for a warm, dreamy effect.
- Boosted the blues in the sky to make them more vibrant.
- Reduced saturation in certain areas to maintain a balanced look.
2. Adding a Moody Vibe with Split Toning
Split toning allows you to add different colors to the highlights and shadows. I chose a warm golden tone for the highlights and a cool blue tint for the shadows. It was stunning!
Step 3: Retouching in Photoshop
Lightroom did its magic, but some final touches needed to be done in Photoshop.
1. Removing Unwanted Objects
There was a trash bin in the background that completely ruined the look. I used the Spot Healing Brush Tool to remove it without a trace.
2. Skin Smoothing & Face Enhancements
If you’re working on portraits, this is the magic step! Using Photoshop’s Frequency Separation Technique, I could smoothen the skin without losing the texture.
- Removed pimples, preserving natural aspects.
- Improved eyes a little by giving them brightness and a slight sharpness.
Step 4: Final Touches &Exporting the Image
Before saving the final edit, I did some last-minute touch-ups:
- Added a subtle vignette to draw attention to the main subject.
- Sharpened the image slightly to enhance clarity.
- Resized & Exported the image in high quality for social media sharing.
The Final Results: A Jaw-Dropping Transformation!
I compared my edited version with the original photo, and the difference was unbelievable. The colors looked rich, the composition was balanced, and the overall vibe of the image was professional and eye-catching.
Before vs. After – What Changed?
- Better lighting & contrast
- More vibrant, cinematic colors
- Clean & distraction-free background
- Sharper details & enhanced clarity
Final Thoughts: You Can Do It Too!
Photo editing is not merely about making an image look fabulous. It’s about painting a story, bringing your personal visions to life. Whether you are an absolute beginner or someone looking to improve, the key is practice and experimentation.
Here are a few tips to get you going:
✅ Begin with the basics: Snapseed or Lightroom Mobile
✅ Watch tutorials and try recreating edits you love.
✅ Don’t overedit—keep it natural and realistic.
✅ Try color grading to develop your style.
If I could edit this photo like a pro, you can too! Try these techniques and let me know how your editing journey goes. Do you have any favorite editing tricks? Share them in the comments below! ????

